Measure the site before you draw a single stall
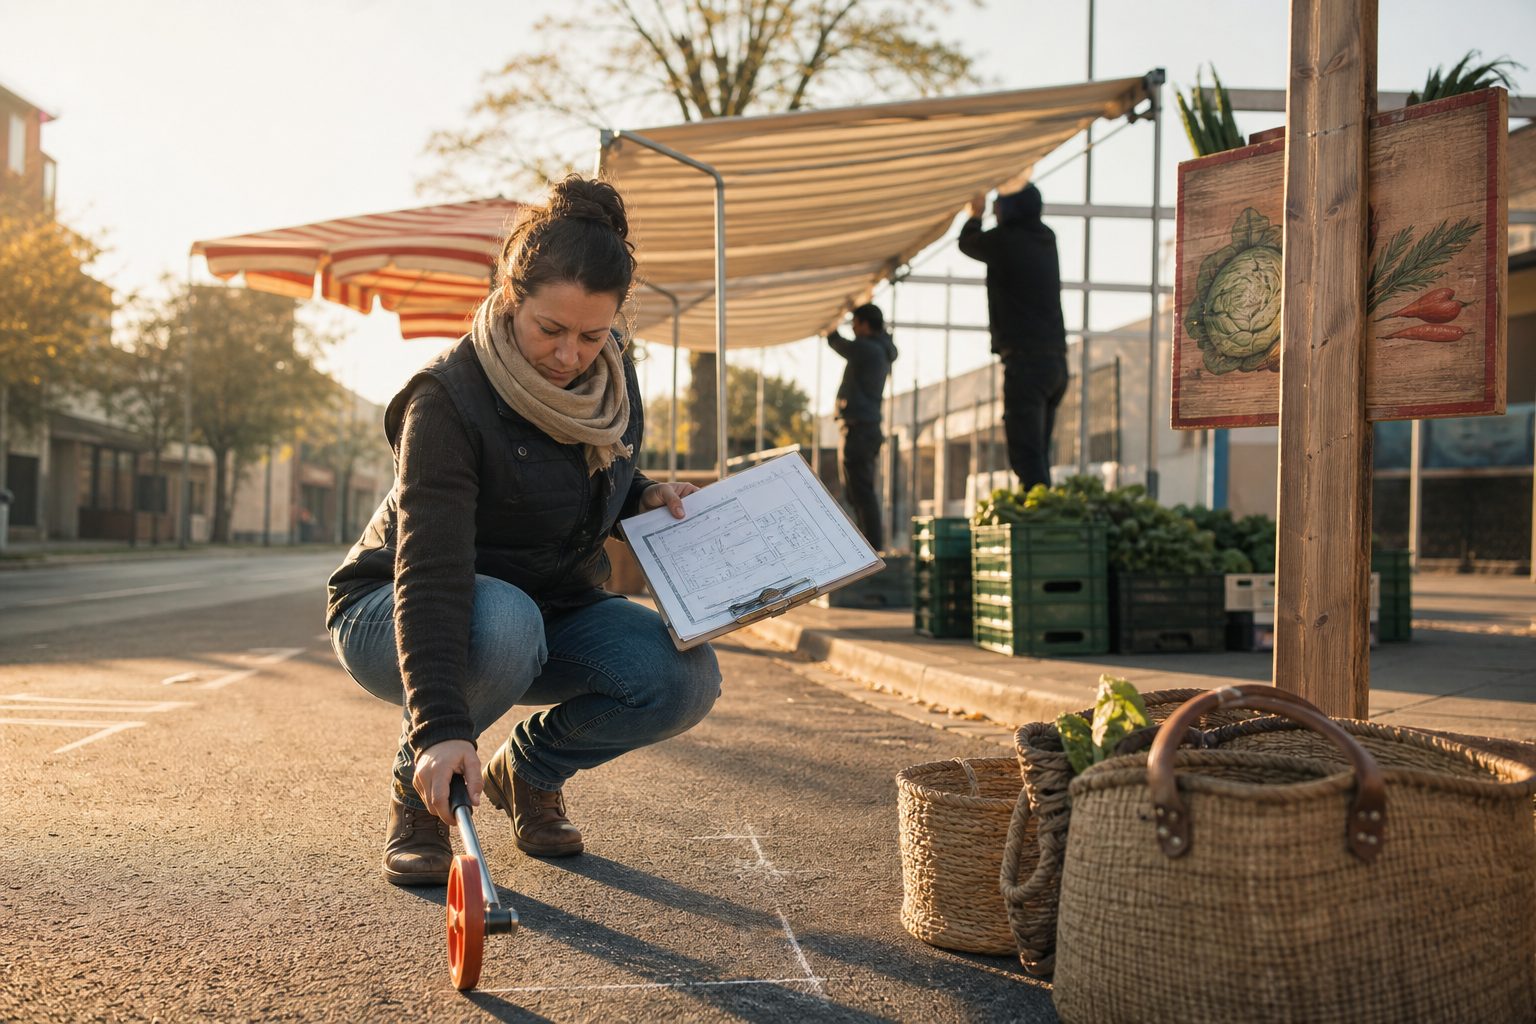
Every market site has quirks: uneven pavement, sloping lawns, tree roots, utility poles. Start with a hard copy or digital site plan from your landlord or city. But do not trust it alone. Walk the space with a long tape measure or surveyor's wheel. Mark every fixed obstacle and note the true width of drive aisles, curb cuts, and sidewalk pinch points. Write these numbers down by hand, not memory.
Measure the total length and width of the usable area. Break it down by block or section if the market runs around corners or across access roads. Check the height and width of gates and entrances: you need to know what a box truck or trailer can clear. If the site has grassy or unpaved areas, test them after rain. Some soft spots are unusable during wet weeks. Mark those on your plan now, so you do not strand a vendor in mud.
Count all utility connections: power outlets, water spigots, light poles. If your market allows food trucks or big trailers, measure turning radii at all corners. A vendor with a 24-foot trailer cannot make a ninety-degree turn where a minivan can. Take photos as you go. These become reference points when questions come up later in the season.
Keep reading: Flat Fees vs Percent of Sales vs Season Dues for Markets
Fire lanes, exits and the clearances your fire marshal checks
Every city or county has fire code requirements for temporary events. The fire marshal wants to see clear lanes wide enough for emergency vehicles, open exits, and no permanent obstructions. In most states, the minimum fire lane is twenty feet wide from curb to curb. Your layout must respect this, even if it means fewer stalls in a prime row.
Next, look at exit routes. People must be able to reach an exit from any point in the market without passing through a tent or a vendor's setup. Mark exits with cones or tape during your first run. If your site has fences or locked gates, make sure keys are accessible to staff and emergency crews. Note where fire hydrants and standpipes sit. You cannot block these under any circumstance.
Check canopy placement too. Tents and umbrellas must not block the fire lane, even with guy lines or weighted barrels. If you allow food prep, the fire marshal may require extra distance between propane tanks or open flames and public walkways. Confirm these distances before assigning stalls. Every market gets a surprise inspection eventually. A layout that passes scrutiny at the start reduces headaches later in the season.
Corner stalls, power drops and the spots vendors ask for
Some stalls will draw more requests than others. Corners, end caps, and stalls near restrooms or shade sell out first. Food trucks prefer the perimeter for exhaust and easier in-and-out. Artisan and produce vendors often want power for coolers or displays. Make a list of high-demand spots before you start assigning, so you can document how choices are made.
Handling Power Drops
Map every usable outlet and circuit breaker. Know the amperage available at each location. Long extension cords create trip hazards and can overload circuits. Most markets limit vendors to one connection each, but some allow multiple draws if the infrastructure can support it. Assign power stalls based on need: prioritize refrigeration, then lighting, and finally extras like hot plates or fans.
Managing Requests and Fairness
Tell vendors up front how you will handle stall requests. Some markets use a lottery for high-demand spots; others rotate vendors by week or season. Document your process. If you seat a vendor in a desirable spot, make note of why: tenure, product mix, or need. This helps defend your choices if another vendor lodges a complaint.
For food vendors with trucks or trailers, check that stall depth allows for equipment and customer lines. Leave enough room behind the stall for doors to open and propane tanks to sit safely. If you assign a corner, confirm the vendor can maneuver in and out without blocking traffic for others.
Keep reading: How to Accept SNAP, WIC and Senior FMNP at Your Market
Seniority, rotation and how to seat daily vendors
Most markets balance returning vendors with new applicants and drop-ins. Your stall map should reflect both the pecking order and flexibility for late changes. Start by seating your full-season vendors first. They rely on consistent placement for customer return and signage. Assign them the same spots week to week, if possible, and communicate this clearly.
Next, fill in part-time or alternate vendors. These seats change hands more often. Use a color code or separate row on your map for alternates. This makes swaps easier when someone cancels. Some markets keep a waitlist and seat alternates by seniority, application date, or product type. If you use a rotation system, track who sits where each week to spread out prime locations over the season.
Daily Vendors and Drop-Ins
Set aside a block of stalls near the market entrance or in a location with easy access for day-of vendors. These are the first to be reallocated if a full-season vendor is absent. Post a sign or send a message to daily vendors explaining how these stalls are assigned each week. Some markets use a first-come, first-served approach in the morning; others draw lots. No matter the system, document it for transparency.
Keep your daily vendor spots flexible. Crowds and weather can change the mix of products in demand. A regular rotation helps avoid claims of favoritism. If you have a vendor council or committee, run your assignment process past them before opening day. This builds trust and reduces complaints from the start.
Canopy weights, wind and spacing between tents
Weather is the biggest wild card at any outdoor market. Most canopies need at least twenty pounds of weight per leg to resist gusts. Some cities require more. Include the weight requirement in your vendor rules and check compliance during setup. Do not allow stakes if your site has underground lines or irrigation.
Spacing matters for safety and comfort. Allow at least two feet between tents for customer flow and to prevent wind tunneling. Bigger aisles, ten feet or more, work well in markets with high foot traffic or wide product displays. In close quarters, stagger tents slightly to cut down on collision risk if a gust picks up a corner.
Check the direction of prevailing winds at your site. Orient stalls so the narrow sides face into the wind if possible. This reduces drag and lowers the chance of canopies lifting. If your site backs up to a building or fence, leave extra space for air movement. After storms, inspect the space for new hazards: broken branches, loose signage, or shifted weights. Update your map if conditions change enough to affect stall layout.
See how StallDeck handles this for farmers markets
Load-in order, arrival windows and the no-show rule
Orderly load-in keeps tempers cool and prevents bottlenecks. Assign arrival windows based on stall location and vendor setup time. Vendors with heavy equipment or food trucks need extra time and wider paths. Send out a schedule a week ahead and remind everyone the day before. Use colored cones, flags, or chalk to mark entry points for each group.
Stagger arrivals to keep drive aisles clear. For example, vendors on the far side of the lot arrive first and set up before others block access. Vendors with small tables or hand carts can load after the big rigs are in place. Build in buffer time for traffic jams or forgotten items. Require all vehicles off-site by a fixed time before opening to the public.
No-Show Policy
Every market has last-minute cancellations. Set a clear no-show rule: after a set time, unclaimed stalls are reassigned to alternates or daily vendors. Publish this rule in your vendor handbook and stick to it. If a vendor is late more than a set number of times, move them to the bottom of the list for prime spots. This keeps the schedule fair and discourages chronic tardiness.
Update your stall map after load-in every week. Note any swaps or last-minute changes. This helps with recordkeeping, especially if disputes arise or if someone claims they were bumped from a reserved spot.
Publishing the map so vendors and shoppers can both read it
Your stall map is not just a tool for setup. It is a reference for vendors, staff, city inspectors, and the public. The map should be easy to read and simple to update. Use clear labels, bold numbers, and a legend for any symbols. If you assign stalls by vendor name or number, keep a master list with contact info and product type.
Print large-format copies for check-in and post smaller maps at entrances or central points. Update digital versions weekly and send them to vendors by email or text. If your market uses online vendor listings, link the public map so shoppers can see where to find their favorite stands. Some markets embed QR codes on-site for real-time updates.
For recordkeeping, keep each week's map on file. This is useful if you need to show compliance with fire codes or answer questions about vendor placement later in the season. A digital map that tracks assignments, stall changes, and payment status simplifies reporting and helps you spot trends over time.
Managing stall assignments, payments, attendance, and public listings can be complex without the right tools. Many market managers use specialized software to streamline these tasks and keep all the details organized in one place.